CS3, CS4, or even CS5 – No matter what variant of Adobe Premiere Pro, eliminating the green screen from a video is simple. How about we separate the means to get this going.
- Green or Blue Screen Background for Chromakey – while utilizing either green or blue screens, they will work the best because these two tones work best against human skin tone and require minimal measure of light. Ensure that the size of the screen is huge enough for the project, and the screen ought to have no noticeable kink. Use texture, bed sheet, or painted divider to make green screens. Keep away from glossy paper that produces glare, which will cause issues during editing. Standing excessively near the screen creates pointless shaded areas so stay away from it.
- Setting Up the Chromakey Lighting – this is the main piece of the entire green screen impact. Ensure there are a lot of light sources, particularly while shooting indoors. Hydrogen lights, room inside lights, or professional lights to enlighten the room (or studio) to keep shadows from projecting on the green screen.
- Utilizing premiere pro luts to Edit – drag the screen into a timetable. Rather than Video 1, use Video 2 timetable. From the left menu, pick the new foundation impact, and haul it into the new timetable to layer the two projects.
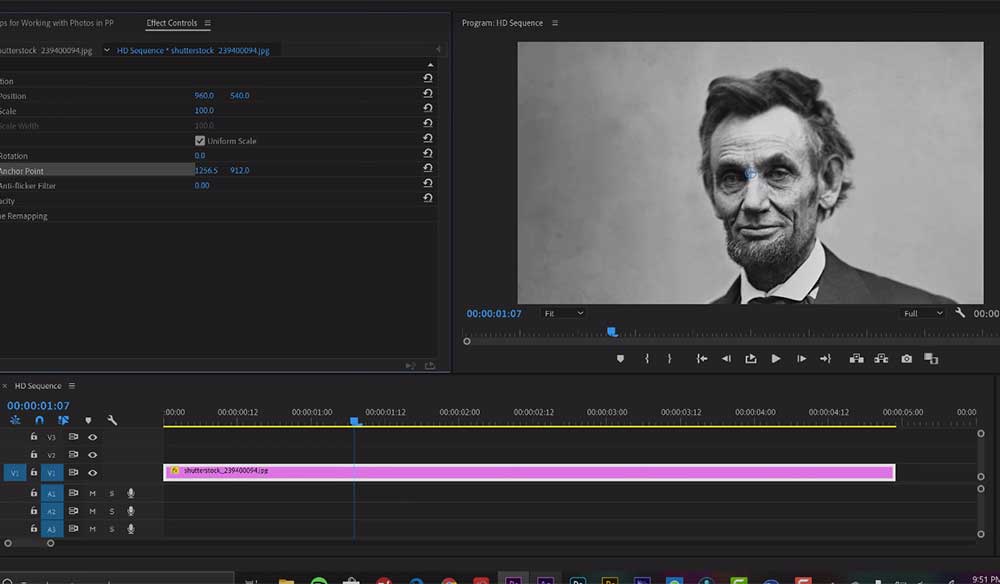
- Control Chromakey from Effects Control Panel – at last, begin mixing the chromakey impact to tidy up the pictures.
Outline:
- Utilize green or blue screen settings. These tones work the best against the skin tone while requiring a minimal measure of light to make the impact materialize.
- Provide more than adequate light sources. Lighting the foundation with totally zero shadows projecting the scenery. Try not to stand excessively near the screen, and if nothing works, shoot outside, ideally on a cloudy day.
- Adobe Premiere Pro to drag the completed videos, and pictures and wed the two utilizing Effects Control.
The ideal time to Edit FLV with Premiere
FLV Importer for Adobe Premiere is a module for Premiere to import FLV, which permits anybody to alter the FLV in Premiere alongside other video documents and product it to any record design Premiere help.
FLV Importer for Adobe Premiere provides an optimal method for editing FLV with Premiere, you can drag it to the timetable, overlay other video documents as well as add embellishments like add activity, change terms, and illustrations to it without limit, very much as you do in other video records, that is to say, every one of the capacities in Premiere are accessible for your FLV editing.
The product is not difficult to utilize. After introducing it, you can find there is no change in the point of interaction of your Premiere, then again you can import FLV in the Premiere import exchange window. You can alter each FLV frame in course of events the second you import it, without tedious. One more in addition is that the module import the FLV with no frame lost.